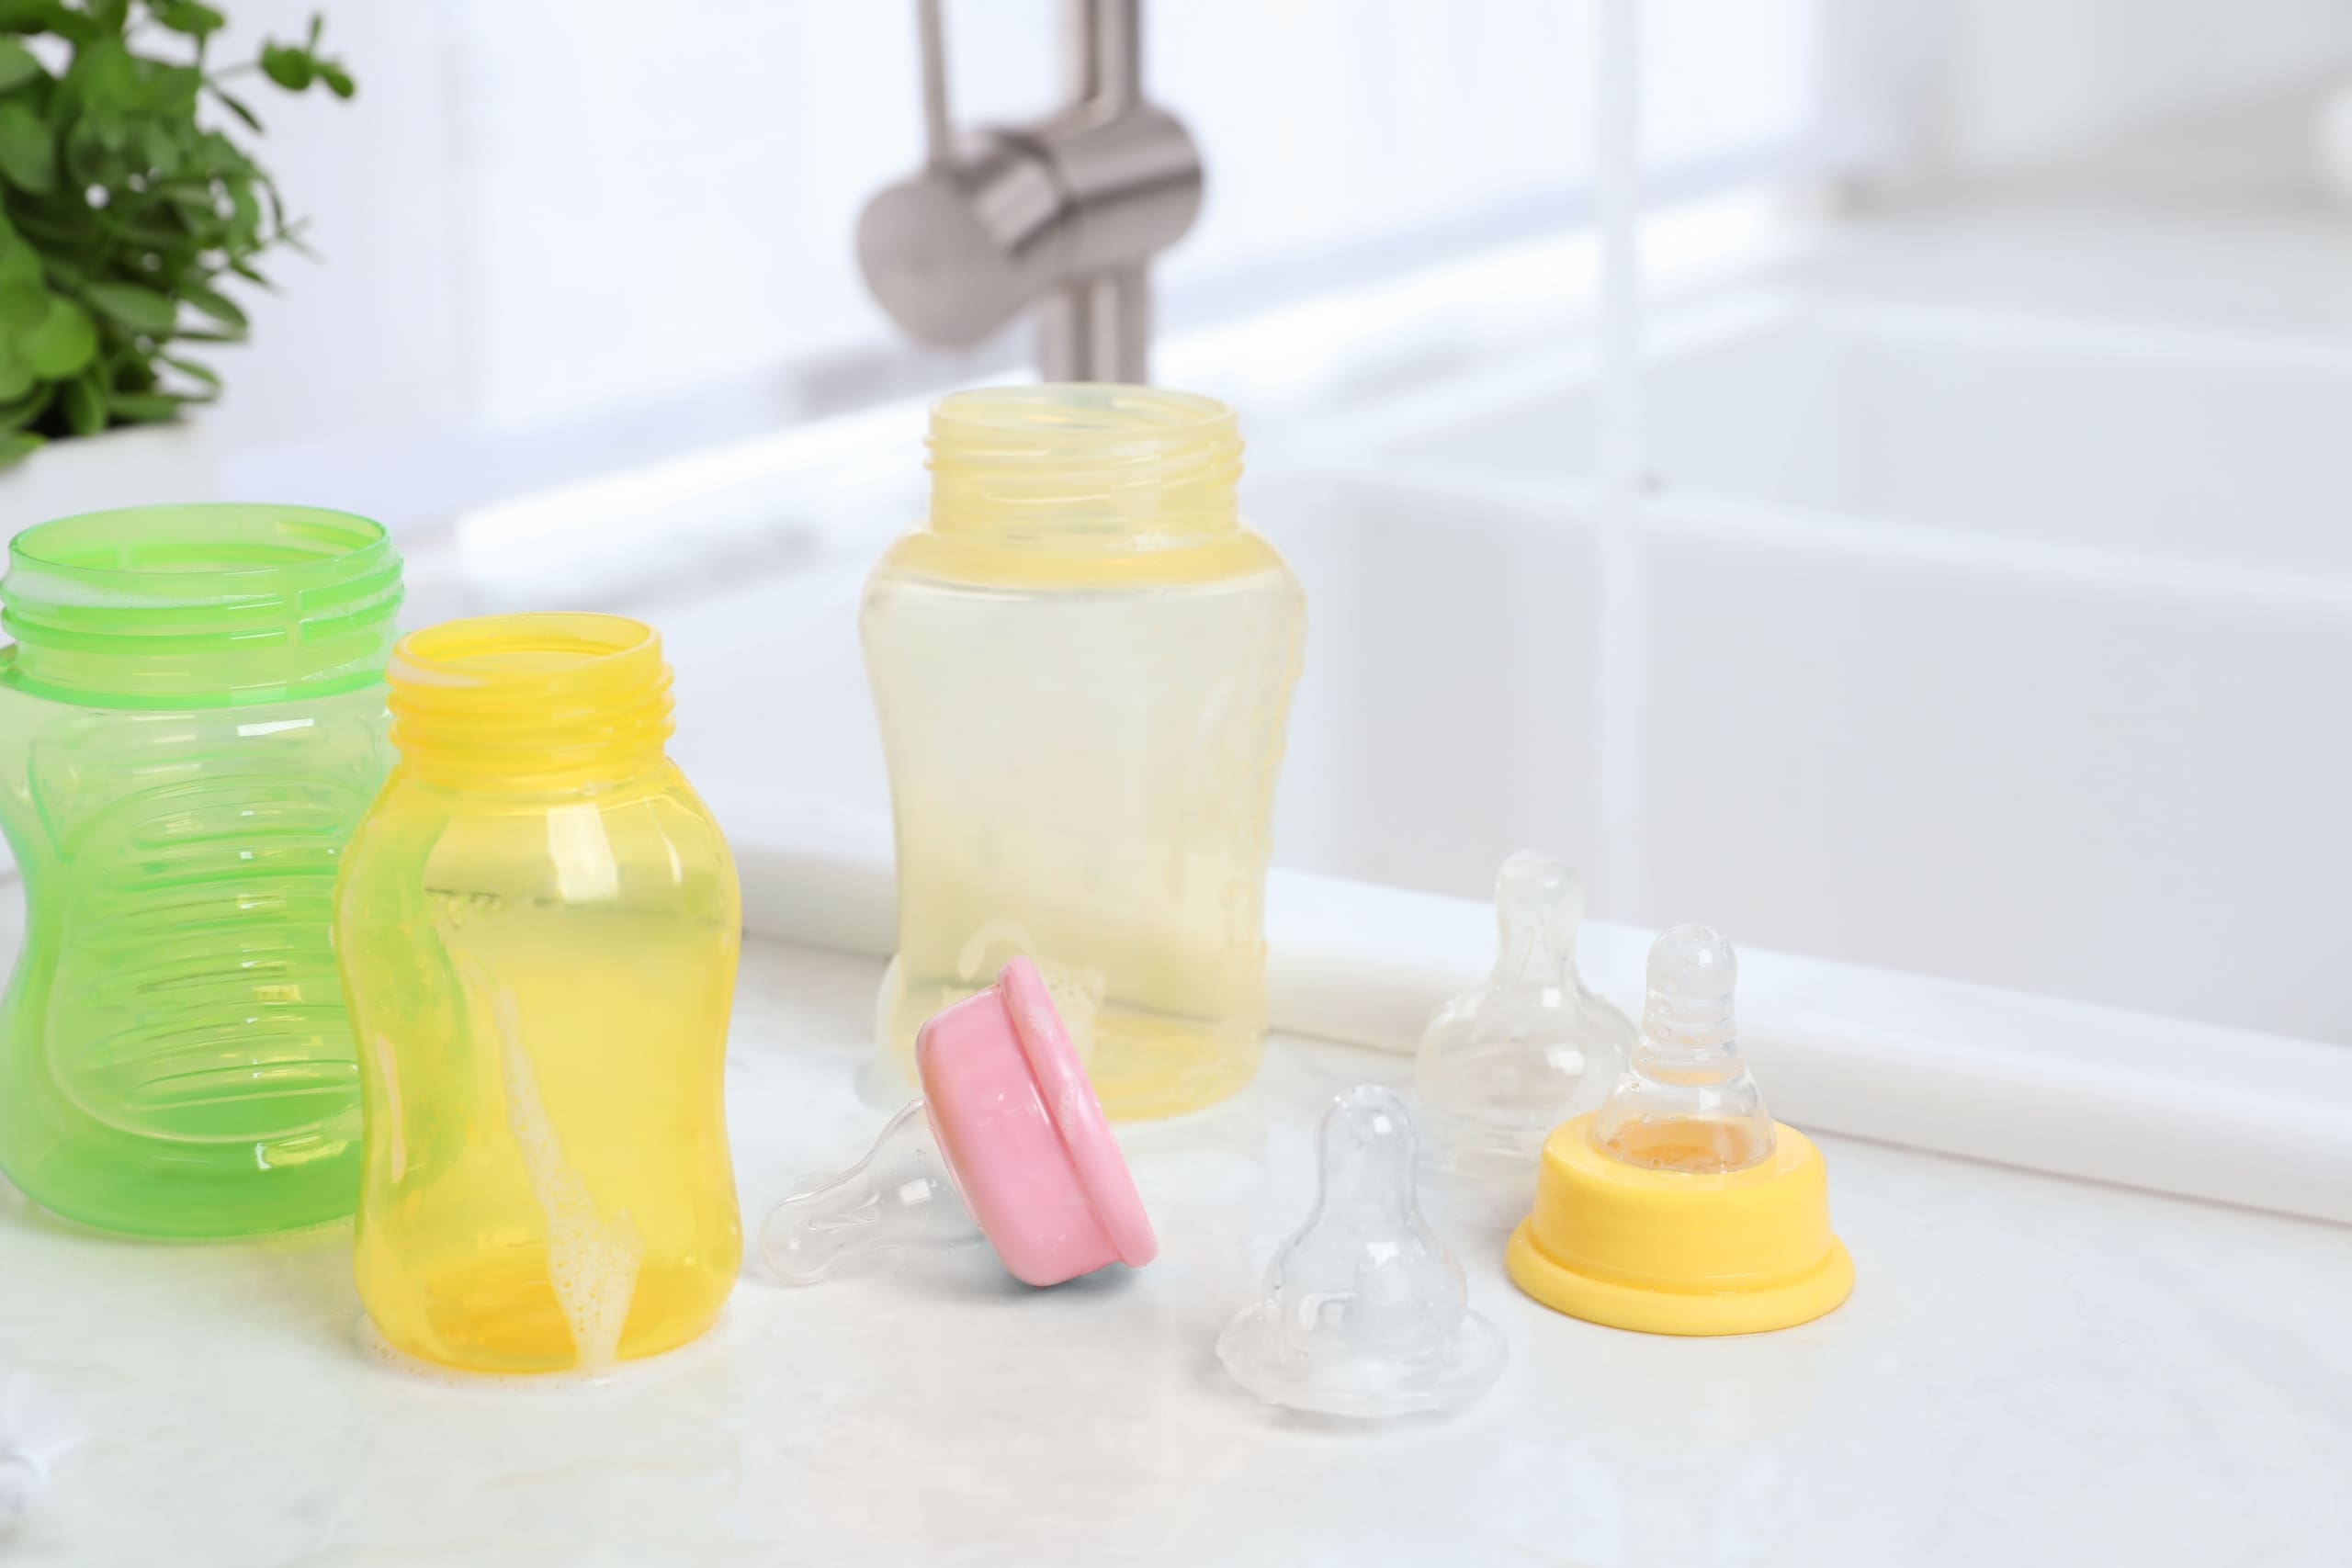
Sanitizing baby bottles can feel like one more thing parents are supposed to do perfectly. Some parents worry that every bottle, nipple, cap, ring, pump part, pacifier, and feeding spoon must be sterilized after every single use. Others are not sure whether regular washing is enough. In the middle of night feeds, small kitchens, drying racks, formula containers, and piles of tiny bottle parts, it is easy to feel overwhelmed.
The safest approach is balanced. Bottles should be cleaned carefully after every feeding, but sanitizing does not have to become an exhausting all-day routine for every family forever. Sanitizing is important before first use and may be especially important daily for very young babies, premature babies, or babies with weakened immune systems. For many healthy older babies, careful cleaning after each use may be enough unless your pediatrician tells you otherwise.
The goal is not to make feeding stressful. The goal is to keep bottles clean, reduce germs, dry parts properly, and avoid unnecessary steps that damage products or create more mess.
Cleaning and Sanitizing Are Not the Same
Cleaning means washing away milk, formula, saliva, and visible residue. Sanitizing means using heat or another approved method to reduce germs even more after cleaning.
This difference matters because sanitizing dirty bottles does not work the way parents may imagine. If milk residue is still stuck inside a nipple, ring, valve, or bottle seam, sanitizing is not a shortcut. The item needs to be cleaned first.
The CDC bottle-cleaning guidance recommends taking apart all bottle parts, rinsing them, washing them, and letting them air-dry fully. In simple language, the daily foundation is careful cleaning. Sanitizing is an extra step, not a replacement for washing.
For practical feeding product guidance, visit the Feeding Gear section.
Sanitize Before First Use
New bottles, nipples, caps, rings, pacifiers, and feeding parts should be sanitized before first use. Even if they come in packaging, they may have been handled during manufacturing, packing, shipping, or storage.
Before sanitizing, wash your hands, take the parts apart, and wash the items first. Then sanitize using a method that is safe for that product. Some items can be boiled, some can go in a dishwasher with a sanitizing or heated drying cycle, and some can be sanitized with a steam system. Always check the product instructions because not every material handles heat the same way.
A bottle may look strong, but certain nipples, valves, or silicone pieces can warp or wear faster if overheated. Sanitizing should make feeding safer, not damage the product.
Know When Daily Sanitizing Matters Most
Daily sanitizing is especially helpful for babies who are younger than 2 months old, babies born prematurely, or babies with weakened immune systems. These babies may be more vulnerable to germs, so extra care can be important.
If your baby has medical needs, follow your pediatrician’s advice. Some families may need stricter cleaning and sanitizing routines than others.
For healthy older babies, parents may not need to sanitize every bottle every day forever, as long as bottles are cleaned thoroughly after every feeding and dried correctly. This is where “without overdoing it” comes in. You want a routine that is safe, consistent, and realistic.
Wash Bottles After Every Feeding
Even when you do not sanitize every time, bottles still need to be washed after each feeding. Milk and formula residue should not sit inside bottles for long periods. Used bottles left in diaper bags, strollers, cars, or bedside baskets can smell quickly and become harder to clean.
Take everything apart before washing. That includes:
Bottle
Nipple
Cap
Ring
Valve
Membrane
Straw or vent piece, if included
Rinse the parts under running water. Do not place bottle parts directly in the sink if you can avoid it, because sinks can hold germs and food residue. Use a clean basin or container used only for infant feeding items when washing by hand.
A dedicated bottle brush and nipple brush can help clean corners and small openings. Let brushes dry fully between uses, and replace them when they look worn or dirty.
Use the Dishwasher If the Product Allows It
A dishwasher can make bottle cleaning easier, especially for parents who feel buried under tiny parts. If your bottles and parts are dishwasher-safe, place small pieces in a closed-top basket or mesh bag so they do not fall into the dishwasher filter.
Use hot water and a heated drying cycle or sanitizing setting if available. The FDA formula-handling guidance also notes that bottles and feeding items can be washed in a dishwasher using hot water and a heated drying or sanitizing setting.
After the cycle, make sure items are fully dry before storing. If parts are still wet, place them on a clean towel or drying rack to finish drying.
Be Careful With Handwashing
Handwashing bottles can be safe when done correctly. The problem is that many parents wash bottle parts quickly in a crowded sink with dirty dishes nearby. In small apartments, this is common because counter and sink space are limited.
A safer handwashing setup includes:
A clean basin used only for baby feeding items
A bottle brush used only for feeding items
Clean soap
Running water for rinsing
A clean drying rack or towel
Do not wash bottle parts in a basin that is also used for raw meat, greasy dishes, cleaning rags, or household messes. After washing, rinse well and allow all parts to air-dry fully.
For small-space feeding organization ideas, visit Urban Baby Life.
Drying Is More Important Than Parents Realize
Many parents focus on washing and sanitizing but forget drying. Wet bottle parts stored in closed containers, cabinets, or diaper bags can develop musty smells. Moisture trapped inside nipples, caps, or valves can also make items feel less clean.
After washing or sanitizing, place parts on a clean drying rack or clean towel in an area away from splashing, food prep, trash, and dust. Let everything dry fully before putting it away.
Do not dry bottle parts with a used dish towel that may already have food or hand germs on it. Air-drying is usually better.
Do Not Boil Everything Forever
Boiling is a common sanitizing method, but it should be used carefully and only when the product instructions allow it. Some bottle parts can handle boiling. Others may warp, weaken, or break down faster.
If you boil bottles or parts, follow the manufacturer’s instructions and avoid leaving items in hot water longer than recommended. Check nipples and valves often for thinning, tearing, stickiness, or shape changes.
Over-sanitizing with heat can shorten the life of feeding items. A nipple that becomes damaged is not safer just because it has been sanitized many times. Damaged parts should be replaced.
For help choosing feeding gear that holds up better, visit the Safe Baby Products guide.
Steam Sanitizers Can Help, But They Are Not Magic
Steam sanitizers can be convenient, especially for families who sanitize daily. They may be easier than boiling water and can help organize bottle parts. But they still require clean items first.
Do not place dirty bottles into a steam sanitizer and assume they are ready afterward. Milk residue should be washed away before sanitizing. Also, follow the machine instructions carefully. Use the correct amount of water, do not overload the unit, and let items cool and dry safely.
A steam sanitizer can save time, but it is not required for every household. A dishwasher sanitizing cycle or careful boiling method may work if suitable for your products.
Avoid Sanitizing Products in Unsafe Ways
Do not use random household chemicals, scented cleaners, disinfectant sprays, or surface wipes directly on bottle interiors, nipples, pacifiers, or feeding parts. Baby feeding items go into the mouth, so they need methods meant for feeding equipment.
Do not mix cleaning chemicals. Do not use strong-smelling products on items your baby will suck or drink from. Do not spray disinfectant near open formula, clean bottle parts, or drying racks.
If you ever need to use a special sanitizing method because of an emergency or water issue, follow official public health instructions exactly and rinse or dry according to guidance. Guessing with chemicals is not safe.
Keep Formula Prep Separate From Bottle Washing
Formula preparation and bottle washing should not happen in the same messy space at the same time. If the counter is wet from washing bottles, dry and clean the area before preparing formula. If dirty bottles are in the sink, avoid placing clean formula scoops, nipples, or caps nearby.
The FDA infant formula safety tips remind parents to use safe water and follow formula preparation instructions. Clean feeding items are part of that safety routine, but the prep area also needs to be clean.
A simple system helps: wash used items, let them dry, store clean parts, then prepare formula on a separate clean surface when needed.
Store Clean Bottles Properly
Once bottles and parts are fully dry, store them in a clean place. A covered bin, clean drawer, cabinet shelf, or dedicated baby feeding container can work. Avoid leaving clean nipples and caps loose on the counter where they collect dust, cooking splatter, or pet hair.
Assemble bottles only when everything is dry. If you assemble while parts are wet and store them closed, moisture can stay trapped inside.
Keep clean and dirty items separate in diaper bags too. A used bottle should not go back into the same pouch as clean nipples, pacifiers, or feeding spoons.
Replace Parts When They Look Worn
No amount of sanitizing can fix a damaged bottle part. Nipples, valves, membranes, and silicone pieces wear out over time. Plastic bottles can become scratched or cloudy. Silicone can become sticky or hold odors. Rings and caps can crack.
Replace feeding items if you notice:
Cracks
Tears
Stickiness
Cloudiness
Warping
Strong odors after washing
Milk flowing too quickly
Loose or damaged parts
Rough edges
Peeling coatings
A clean-looking but damaged item may still be hard to wash properly.
Make a Routine You Can Actually Keep
The best bottle routine is one you can repeat without feeling overwhelmed. For many families, that may look like this:
Wash bottles after every feeding.
Sanitize before first use.
Sanitize daily when the baby is very young or medically vulnerable.
Use dishwasher sanitizing or steam if it saves time.
Let everything dry fully.
Store clean parts in one dedicated place.
If you are constantly behind, simplify your bottle system. Use fewer bottle types. Avoid complicated parts unless your baby truly needs them. Keep one drying area. Wash used bottles sooner instead of letting them pile up.
Final Thoughts
Sanitizing baby bottles does not have to become stressful or excessive. Clean bottles after every feeding, sanitize before first use, and use daily sanitizing when your baby’s age or health makes it important. For many healthy older babies, careful washing and full drying may be enough unless your pediatrician gives different advice.
The biggest safety habits are simple: take bottles apart, wash all pieces, rinse well, dry fully, store clean parts properly, and replace damaged items. Sanitizing is helpful, but it should not replace cleaning or common sense.
A safe bottle routine is not about doing the most. It is about doing the right steps consistently. For more practical baby feeding and safety guides, visit the Trusted For Baby Blog and explore more tips for feeding gear, safer products, home care, and everyday baby routines.